High-quality photos can make or break a property listing. Poorly taken images can deter potential viewers, but while professional photography is ideal, you can still capture great shots using just your phone. Here are some key tips for taking excellent property photos with your phone and enhancing them further with VirtualStagingExpert.
1. Prepare the Space
Before even picking up your phone, take the time to prepare and stage the space. This includes:
- Removing personal items and unnecessary clutter.
- Opening blinds and curtains to let in natural light (preferably shooting on a sunny day).
- Turning on all lights to brighten the space.
- Adjusting furniture to create a welcoming and spacious feel.
If you've already taken a photo but notice some clutter, don’t worry! VirtualStagingExpert has a tool called “Remove Clutter.” Simply upload your photo, highlight the unwanted items, and within seconds, you’ll have a clean, clutter-free image.
2. Use the Right Camera Settings
Modern smartphones have powerful camera features—make sure you’re using them to their full potential:
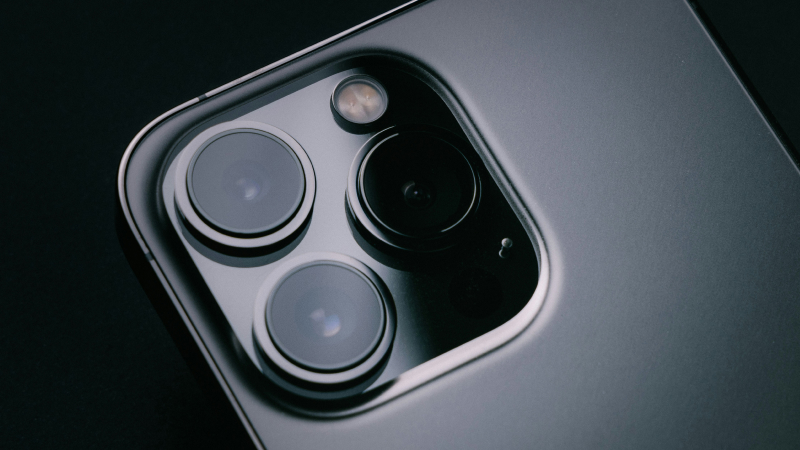
- Use the widest lens available (e.g., the 0.5x ultra-wide lens on an iPhone) to capture more of the space and provide a better sense of scale.
- Turn on HDR (High Dynamic Range) for balanced lighting if your phone supports it.
- Use grid lines to align your shots and keep them level.
- Avoid using digital zoom; instead, move closer if needed.
- Tap the screen to focus and adjust brightness as necessary.
If the only image you have is low quality (perhaps due to compression from websites), VirtualStagingExpert can enhance its resolution using AI to restore sharpness and detail.
3. Leverage Natural Light
Lighting is one of the most important aspects of real estate photography:
- Shoot during the day when natural light is abundant.
- Avoid harsh direct sunlight, which can create strong shadows.
- Balance natural light with artificial lighting to prevent dark corners in interior shots.
4. Choose the Best Angles
The right perspective can make a room look larger and more inviting:
- Shoot from chest or waist level for a more natural perspective.
- Capture corners of rooms rather than flat walls to add depth.
- Take multiple shots from different angles to give potential viewers a complete view.
5. Showcase Key Features
Highlight the space’s best assets:
- Capture details like fireplaces, large windows, or unique architectural elements.
- Remember to use the widest lens available to maximise the space’s visual appeal.
If you’re working with an empty room, VirtualStagingExpert can help visualise how it would look when furnished. Conversely, if you have a fully furnished room and want to see it empty, our AI can create a virtual empty version for you!
Bonus: Turn Your Photo into a Cinematic Video
A still photo might not always capture a space’s full potential. With VirtualStagingExpert’ AI technology, you can transform a photo into a short, five-second cinematic video to better showcase the space. Check out the demo below!
With these tips, your phone can be a powerful tool for capturing high-quality property photos. By preparing the space, leveraging good lighting, using the right angles, maximising your phone’s capabilities, and enhancing images with AI, you can create a professional-looking listing that attracts viewers.